Saturday, June 2, 2012

Celebrity Inspired Hairdo for Summer!

So now that it's June, the weather is starting to get warmer and I know that when it's hot and sticky out, all i want is for my bangs to be out of my face and my hair off of my neck! This hairstyle does both! I had one request from a reader to do some more summer hairstyles that were better than your average ponytail, and I had been wanting to do an inspired hairdo for a while now, so I thought I would kill two birds with one stone. If you like what you see, keep reading!

I don't know the name of this particular celebrity, but I have always loved this picture or her hair and I have worn this look once or twice and each time I loved it even more!


So to start off make sure your hair is parted very far to the side. I wear my hair normally in a side part, and I still had to go over farther.


Now, take a sectioning clip, and drag in a straight line, from just behind your ear all the way until it meets your original part. Use another sectioning clip to secure the hair behind this second line out of the way so that it will not get mixed up.


Next, take the large section and split it in two. Don't worry if it's not completely perfect, just be sure to make the part line straight. (Sectioning clips work really super well for this. Did I mention I love those things?) As you can see my front section seems to be bigger than the back one, but it will all work out great in the end. Secure the back section out of the way, with a hair tie, clip, or sectioning clip.

So now, dutch braid the front section, adding in small sections as you go, until you run out of hair. After that, just braid normally until you reach the end.  If  you don't know how to dutch braid, see last week's tutorial for detailed instructions.


Repeat with the back section. Something I like to do ,because I have fine, straight hair, is to tug on the very edges of each "braid elbow" if you know what I mean. The tugging helps the braid to look fuller and like you have more hair. If you look closely you will see that I have done that with the back section but not the front. If I had gone crazy with it, it probably would be more evident, but for the look today I wanted only a little bit more fullness.


Then, pull the braids, along with the rest of your hair, into a ponytail. You could leave it like this and have another super cute hairdo, but I'm going for the look that this celeb pulled off.


So just twist the ponytail into a loose bun. Again, don't worry about perfection, it's supposed to be messy!! Then add a fun hair accessory! I got my purple hair flower for only two or three dollars and you can find them just about anywhere for really cheap. This is the finished look! I hope you enjoy wearing this 'do this summer, and let me know in the comments what look you want me to do next!

Sunday, May 6, 2012

How to: Dutch Braid

This week's tutorial is how to do a dutch braid or what other people call an inside out french braid. It sounds complicated, but with a little practice, you too can be a pro at this braid! The difference between a dutch braid and a french braid is that you bring each outer strand under each middle one instead of over. This braid is more pops out more on the side of your head than a regular french braid does, so it has more of a beachy, bohemian vibe to it. If you like what you see, keep reading!


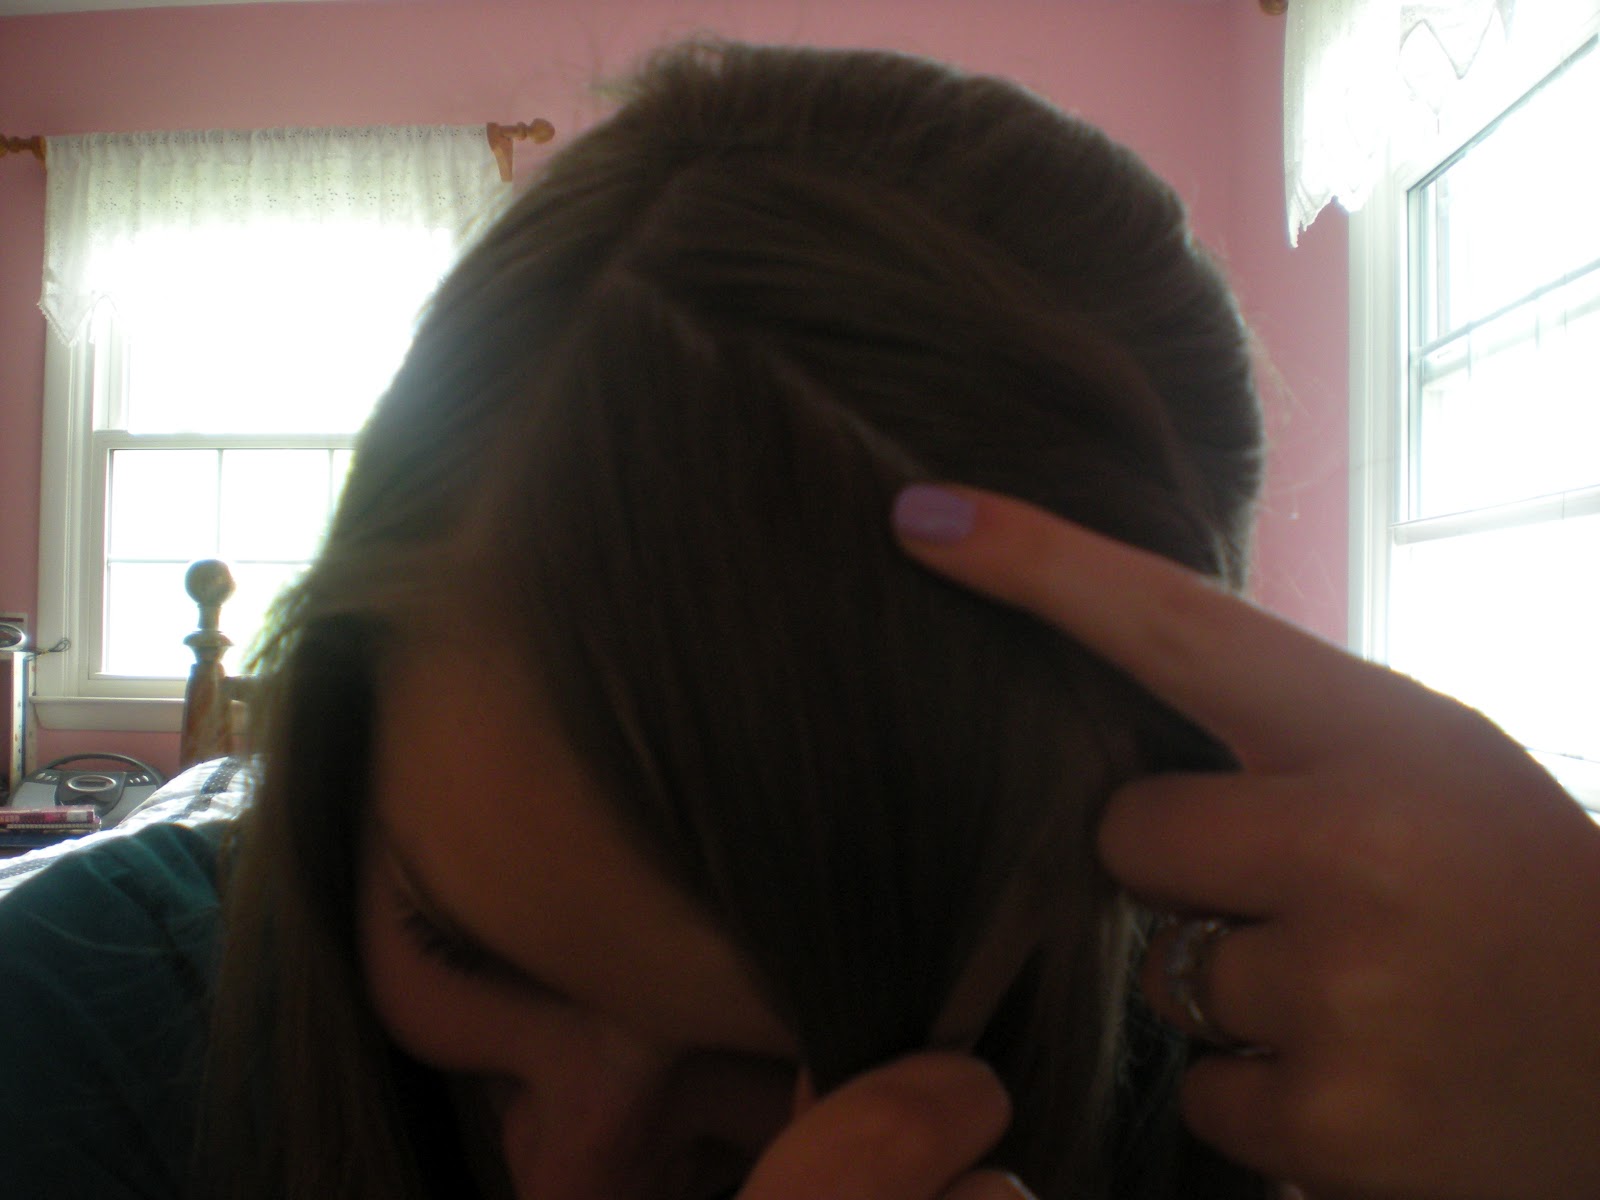
First, take a section of hair near the front of the face and divide it into three sections. So I have tried to make it the least confusing as possible.  I will refer to the strands by color from now on, and let me know if you like this color-coordinating method better and if it is easier to understand than my french braiding tutorial!


So to start off and anchor the braid, take the green section UNDER the orange section without adding any hair in.


Then, while holding the other three sections in one hand, take a small section of hair (in this case the blue squiggly strand), and add it to the blue section.


After that, take the now bigger blue section UNDER the green section.


Next, take another small piece of hair  and add it to the orange section.


Then take the now larger orange section and braid it UNDER the blue section.


Repeat the steps and braid to the end. Just for fun, I provided the color version for your convenience! I usually braid down to behind my ear and secure with a hair tie in a side ponytail. Happy braiding and leave me a comment or picture of what look you want me to do next!

Thursday, April 26, 2012

Gorgeous Curls Without Heat!!

I love having curly hair as much as the next person, but the damage that a straightener or curling iron does to my hair isn't worth it. This simple, fast and easy method will give you effortless and natural looking curls without using any heat. Another thing I love about wearing this hairstyle is that because it involves a drying process it curls even my hard-to-curl hair! If you do this after taking a shower right before bed and then sleep on it, you will wake up with a already styled head of hair! So easy, right? If you like what you see, keep reading!


This next part you can do one of two ways: the dry way or the wet way. Both involve the same steps, but it's up to you on how you want to do it.

The "Dry" Way-- First brush through your hair to ensure there are no tangles in it. Then, take a a spray bottle and get your hair thoroughly DAMP. You want your hair damp, but NOT wet, or the hair will take for-stinkin-ever to dry! Use mousse for even better hold. This method will hold longer than the wet method because the roots of the hair are not wet.

The Wet Way-- After you get out of the shower, towel dry your hair so that it is DAMP. Carefully comb through your hair and apply mousse for extra hold. This method is quicker and much more convenient than the "dry" method, so this is what I end up using mostly.


Now divide your hair into 2-3 equal sections, depending on your hair thickness. Pull one section directly onto the dead center of the side of your head. When you are trying to think of where to place the twist, think about a five year old's pigtails :-)


Begin to tightly twist the hair until it twists in on itself, forming a bun. Secure the bun loosely or the inside of the twist will again, never ever dry!!

Repeat with the remaining sections of hair. Remind anyone of Princess Leia? :D I know, it looks a little bit ridiculous, but that's why it's best to sleep on the buns and take them out the next morning. Add a little hairspray if you are afraid they won't stay even after the mousse. Now, just sleep on it and be prepared to look amazing in the morning!


Take the buns out the next morning and Voila!! Stunning, natural curls! If your hair doesn't hold curl well, add more hairspray! And it only took ten minutes!! Enjoy wearing these curls and leave a comment letting me know what look you want me to do next!

Saturday, March 31, 2012

Braided Bangs


When I can't decide what to do with my hair, and I just want it out of my face, this is my go-to hairdo. It's very simple, and it adds some hair flair without being over the top. This braid is also known as the Lauren Conrad braid, but she didn't invent it, so I just call it what it is -- braided bangs. And the best part of this braid is that it works on both long and short hair!! If you like what you see, keep reading!


This part can be a tad bit tricky, but I will try to be thorough. First, create a deep side part. (The part should end up being directly over the arch of your eyebrow.) Then, separate out the hair from the part, all the way down to just behind the ear and clip it behind your head. You could use a comb for this, but I like sectioning clips a lot better. NOTE: the hair I was clipping in the picture is the hair we are going to use for the braid, not the stuff that needs clipping back, sorry about that :-)


Now, take your comb or sectioning clips and section off a very thin section right next to your original part. Divide into three sections.


Begin french braiding the large section. I have a more detailed post on how to french braid, if you still don't know how, but in short, just braid regularly, picking up and adding tiny sections to the outside piece before you cross it over. When you are doing this particular braid, be sure to braid loosely so it is not too tight to your head at the end. Braid until you reach the end of your hair and secure it.


Now you have two options for how to finish this off. You could just braid it all the way down and finish it off with a colorful clip....


... or you can lift up the hair behind your ear and bobby pin in place. ( When you are bobby pinning, pin the pins in an X formation for extra security)


After you pin the braid in place, arrange the hair you lifted up over the bobby pins. You now have a super cute braid that seems to disappear behind your ear! I hope you enjoy and let me know in a comment what look you want me to do next!

Sunday, March 25, 2012

Do It Yourself: Duct Tape Hair Bow!


Duct Tape isn't just something you use to hold everything together. It can be used for an adorable hair accessory! If you like what you see, keep reading!


You will need: Colored duct tape, a pair of scissors, and some bobby pins


Cut a piece of tape that is twice as long as you want the entire finished bow to be. I cut mine to be about 6 inches long.


Fold the piece of tape over in half and trim any edges sticking out. You certainly don't want the bow permanently stuck in your hair!!

Now here's the trick -- Pinch in the middle of the strip to make this bow shape.


Now, attach a bobby pin and wrap a very thin strip around the middle, and ta-daa! You have a homemade duct tape bow! Have fun, and let me know in a comment what look you want me to do next!!

Saturday, March 17, 2012

How to: Crazy Braids


This is for those who want something just a little different than your average braid. It's totally funky and it looks like you took a long time on your hair, but all you really need know is how to do a regular three strand braid! If you like what you see, keep reading!!

I have layers so I started with wet to damp hair to tame the flyaways. If your hair won't cooperate behind your head as one braid, do like I did and do two braids!


Here is the secret step to creating this braid: separate out the three sections like you would for a regular braid, but make two of the strands significantly smaller than the last. (I have ONLY used the hair ties to make it easier to show you, I do not reccomend that you use them for the real hairdo!!)


And now the last step: Braid!!! No secrets, nothing difficult! Just cross the left strand over the middle and then the right strand over the middle and repeat. When you finish braiding, tug on the big bumps of the braid for a little extra emphasis. (You could use a ribbon as the two smaller strands for something special) Happy braiding and let me know in a comment what look you want me to do next!!

Saturday, March 10, 2012

How To: Wrapped Ponytail


Learning how to do a ponytail wrap will take the simple, everyday ponytail from drab to fabulous! If you like what you see, keep reading!


To start off, secure all of your hair in a ponytail. Then, separate out a thin strand from the underside of the ponytail.


Now, take the strand and wrap it around the hair tie two or three times, depending on your hair length. When you come to the underside of the ponytail again, take the ends of the smaller strand and tuck them into a part of the hair tie. (Another alternative is to use bobby pins to secure the ends, but I prefer the security of using the hair tie.)


And here is the finished look! Let me know what you think about it and comment below what look you want me to do next! Enjoy!

Saturday, February 25, 2012

Cute Updo for Short Hair

I have had my hair cut short before and I know what a pain it can be trying to come up with hairstyles that work on shorter hair. This is again one of those hairdos that is not so much about the technique as it is about the idea of it. I would recommend for this 'do that you have hair at least to your shoulders. I don't personally have short hair anymore so I will be demonstrating on my sister, who does have short hair.


You want to start with the hair curled. The method of curling is up to you, but I used a 1 in. straightener.


To start off this hairstyle, I took the first curl from the front of the face, loosely twisted it, and pinned it. I pinned it towards the right side of the head, because I wanted this to be more of a side 'do. Repeat this process on the other side of the head, pinning towards the side you prefer.

To create the curly part of the "bun" take small sections of curled hair and wrap them around two fingers. Bobby pin in place. (If you wanted to, a cute touch would be to pin the wrapped hair with colorful butterfly clips) You may want to check your work as you go in a mirror if you choose to do it on yourself.


So this is what it should look like when you are done! (Just a Note: When you are pinning the far sections into the "bun" you may not even need to wrap before pinning. Just let the curled ends work for you)


You could leave it like it was in the picture above, but when it comes to short hair, my best advice is to accesorize as much as possible. Here I have used some jeweled spin pins, to add some sparkle. You could also do like in the picture below and use one of my favorite ways to accesorize -- add a headband! Headbands in general just add so much more interest to the front of the face. I thought the bow on this particular headband was super cute and I couldn't resist! Have fun creating this hairdo, and let me know in the comments below what look you want me to do next!

Saturday, February 18, 2012

How To: French Twist


So this is the finished product! If you like what you see, keep reading!
If you found french braiding difficult (check out my other tutorial if you still don't know how) then this hairstyle is for you. It only uses two strands instead of three, so there will be less confusion on how to hold your hands. What I love most about this hairdo is that it looks so similar to a french braid, but you can do it in half the time.

Step 1: Take a section at the front of your head and divide it into two equal sections.


Step 2: Just to start off you want to twist the two strands around each other twice. You want to twist away from the face.


Step 3: Add a small piece of hair to the bottom strand.


Step 4: Twist the two strands away from the face. It is important to note that you do not want to twist too tightly or the "bumps" of the twist won't stick out as much as you want them to. Use a medium tension for this look.


Repeat steps 3 and 4 until you reach the nape of your neck. I have secured mine into a ponytail at this point, but you could finish it off by repeating this on the other side, or by turning it into a half up, half down hairdo. The possibilities are limited only by your imagination. So play around with it and just have fun! Let me know in the comments below what look you want me to do next!